A bot and stream points rewards system for Owncast, much like stream points on Twitch.
|
|
5 bulan lalu | |
|---|---|---|
| ownchatbot | 5 bulan lalu | |
| screenshots | 5 bulan lalu | |
| .gitignore | 5 bulan lalu | |
| LICENSE | 5 bulan lalu | |
| README.md | 5 bulan lalu | |
| TODO.md | 5 bulan lalu | |
| init-ocb.sh | 5 bulan lalu | |
| ownchatbotwide.xcf | 5 bulan lalu | |
| pyproject.toml | 5 bulan lalu | |
| setup.py | 5 bulan lalu | |
| smallrobo.xcf | 5 bulan lalu | |
| update.sh | 5 bulan lalu |
README.md
OwnchatBot
A chatbot for Owncast, enabling viewers to earn points which can be used to purchase stream rewards, and enabling streamers to use Kofi integration to monetize their stream.
Table of Contents
- Features
- Screenshots
- Roadmap
- Installation
- Running OwnchatBot
- Final Configuration
- Kofi Integration
- Overlays
- License
- Attribution
Features
- The standard chat redeems most of us are familiar with. Viewer spends points for the redeem, streamer does/says a thing.
- Voting. The streamer can create votes, and viewers can vote for them.
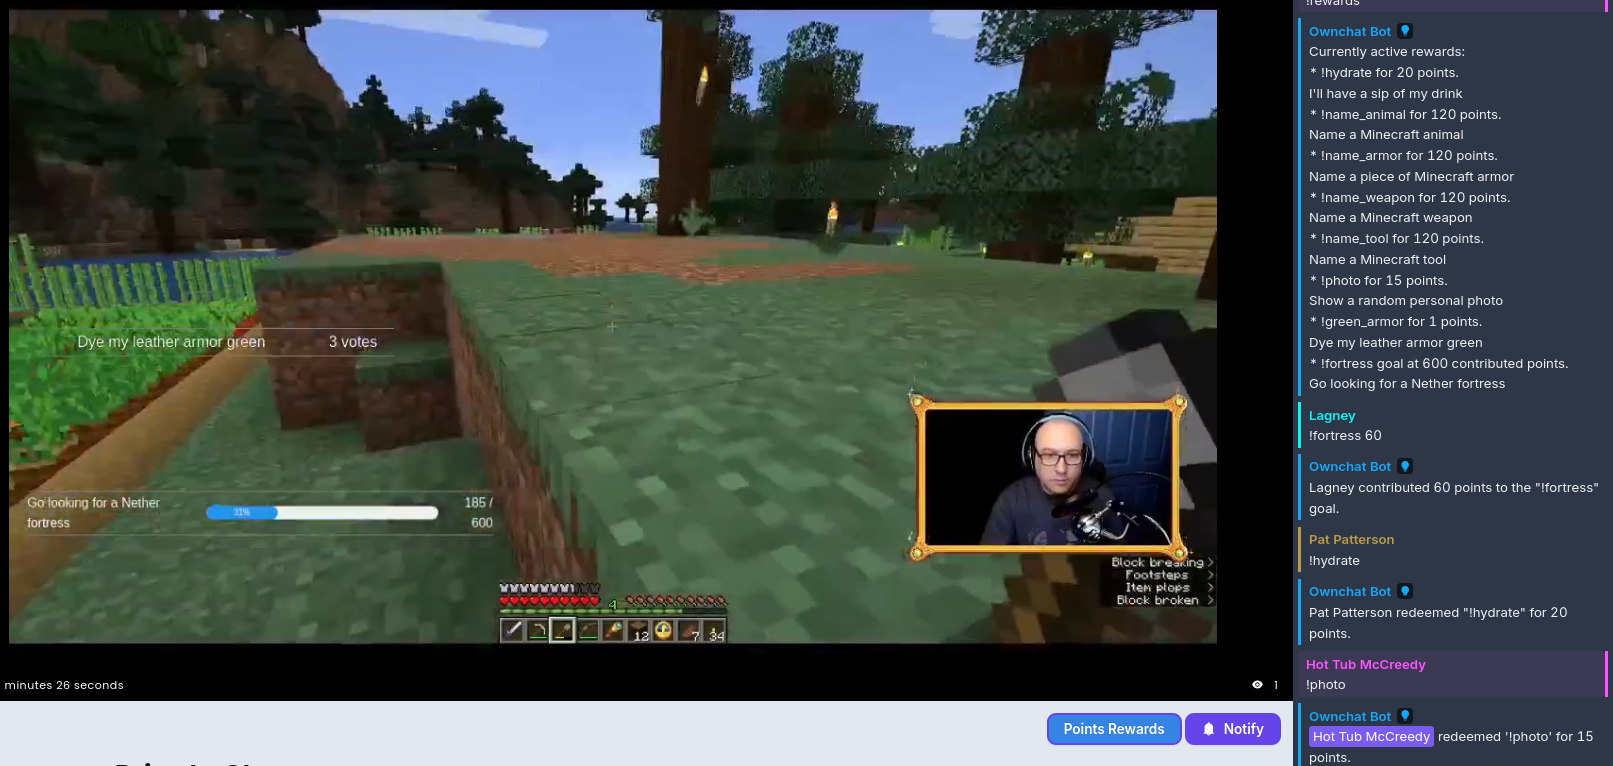
- The current vote tally can be set up as a browser source, to display on-screen.
- Special redeems that will run commands for things like triggering webhooks and running scripts.
- Goals that viewers can collectively contribute points to for rewards.
- Goal progress can be set up as a browser source in your streaming software, to display on-screen.
- Milestones can be set up within goals, for little rewards along the way.
- Cool down timers for redeems and specials.
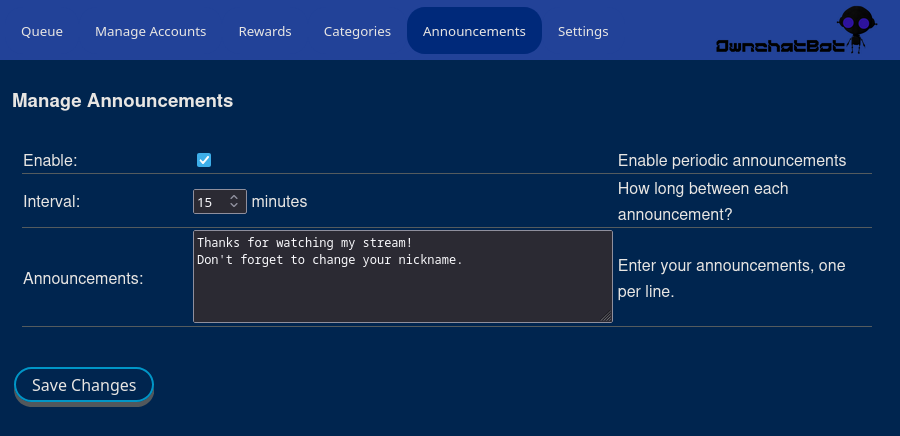
- Automated announcements at regular intervals.
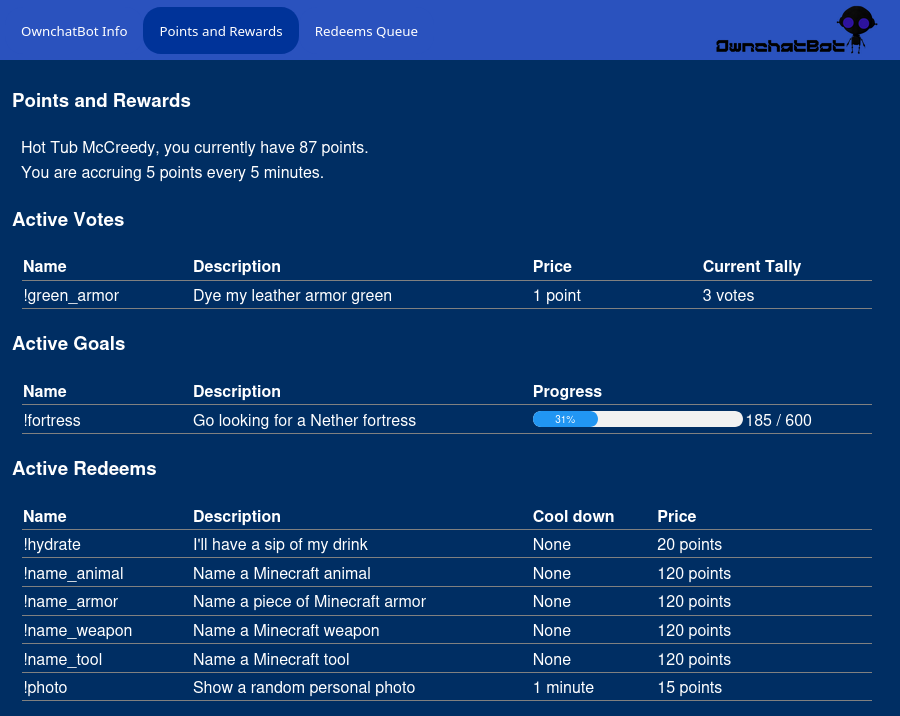
- Web based viewer panel for viewing the reward queue, and points and reward information.
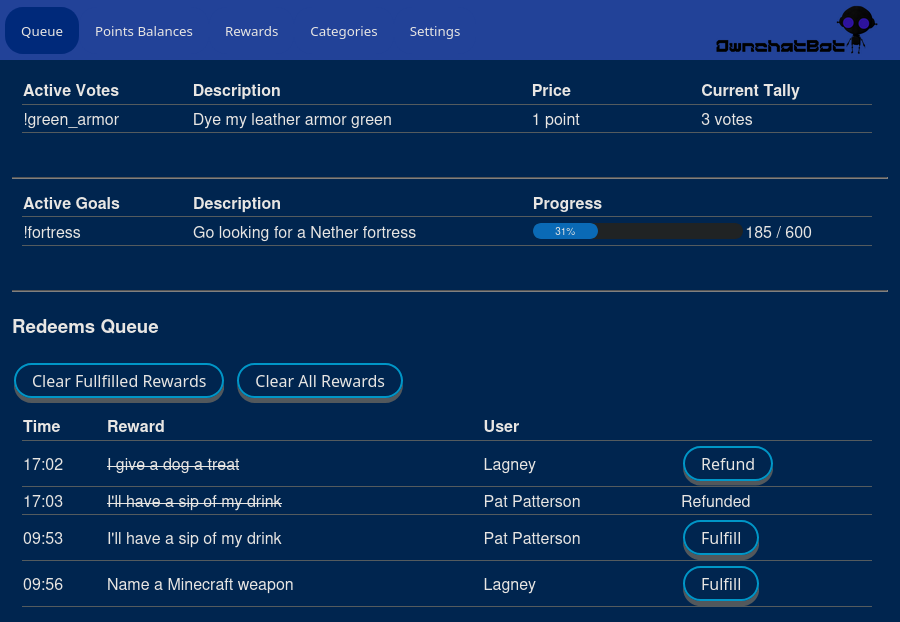
- Web based management panel.
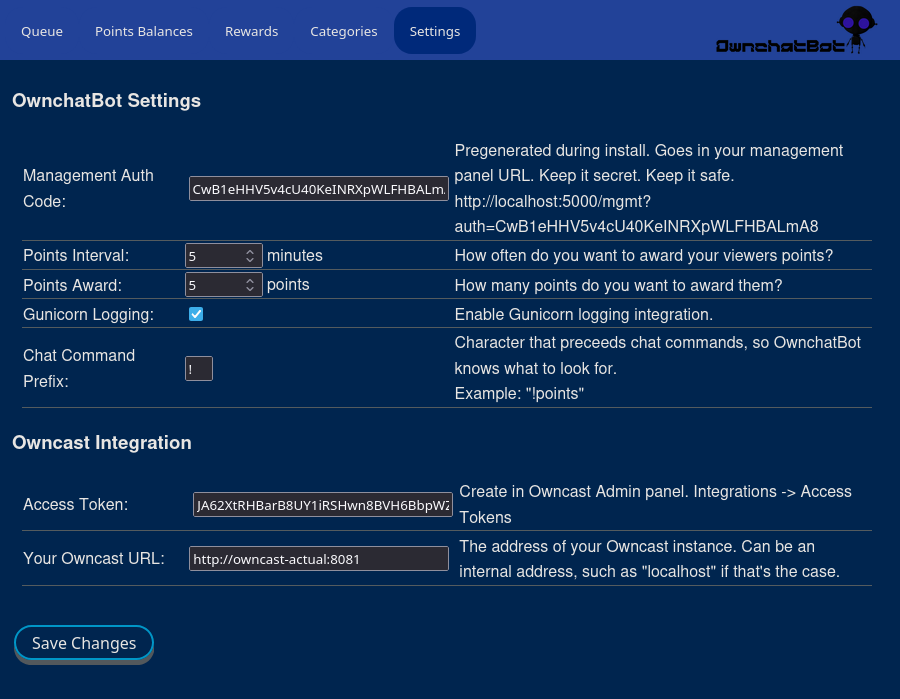
- Configure OwnchatBot settings, Owncast integration and Kofi integration.
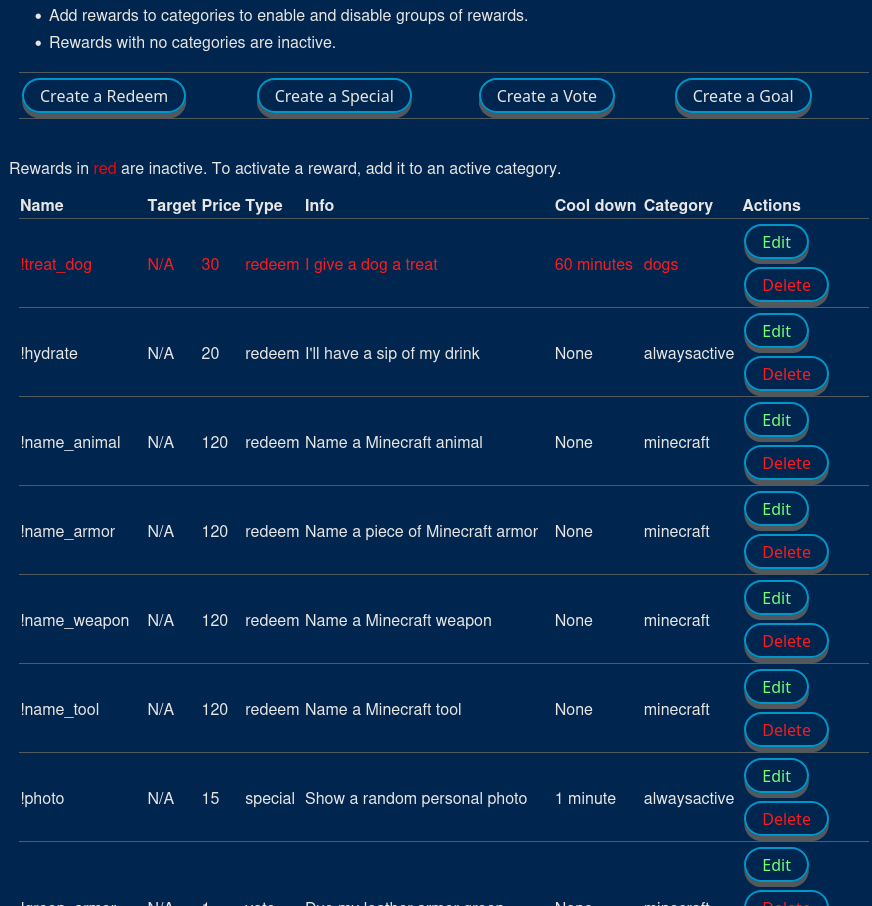
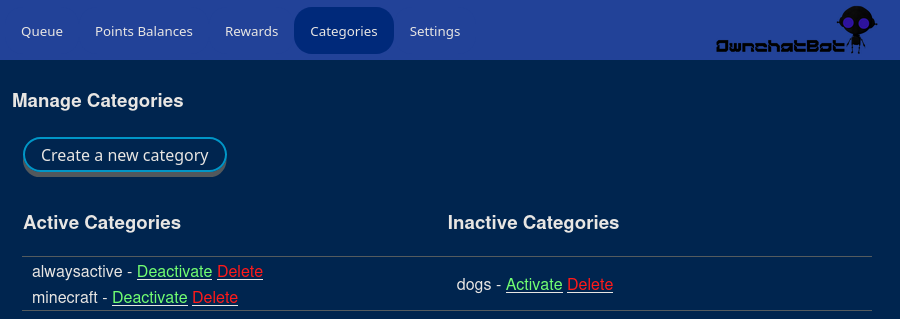
- Add/edit/remove rewards and reward categories.
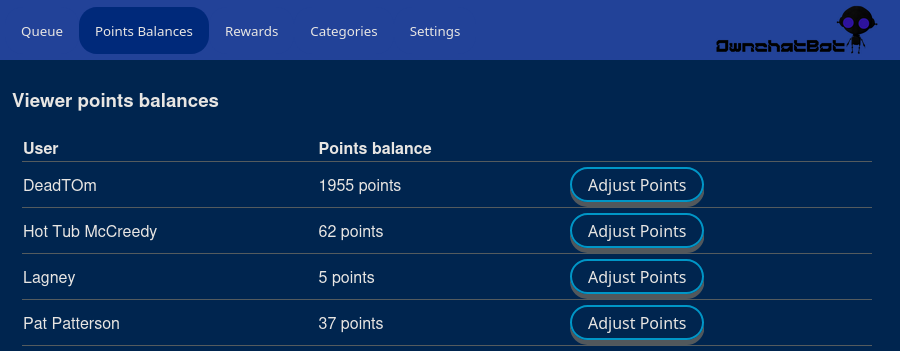
- Viewer management for manually adjusting viewers' points.
- A queue manager, where the streamer can mark rewards fulfilled as they go, or refund rewards if needed.
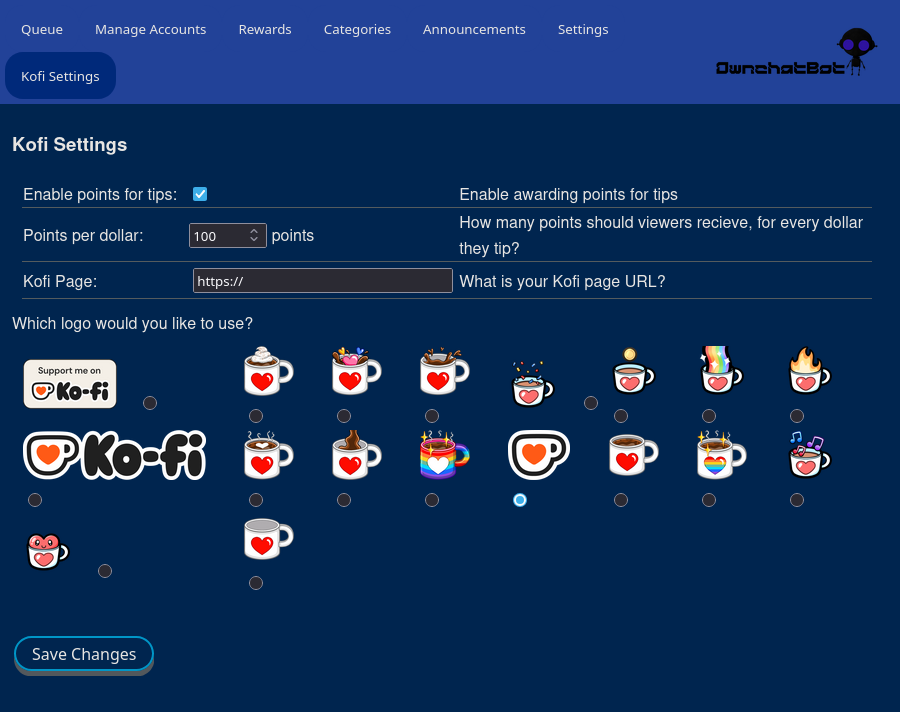
- Kofi integration.
- Your viewers can get points for donating via kofi.
- Monthly dontation/subscription and shop integration coming next
Screenshots
Votes and Goals Overlays
Viewer Panel
Management Panel
Roadmap
Not necessarily in this order
- Kofi monthly subscription benefits
- Subscriber-only emojis, monthly points awards, etc.
- Get emojis in OwnchatBot panels working correctly, because my partner insists on it
- Audible sound when a goal is reached
- Streak tracker, to track how many consecutive streams a viewer has watched, and reward accordingly
- Option to only allow authenticated users, followers, or Kofi subscribers to redeem certain rewards.
- !Timer - Set a timer that will sound an audible alarm. A command only available to the streamer or mods.
- A "watch" function that watches chat for certain words or phrases, and responds with preset messages.
Installation
These instructions assume that you have git, and a recent version of python installed.
You can simply download the zip/tar file from the git repo, and decompress it, but I recommend cloning the repo instead. It will make upgrading to future versions much easier.
git clone https://git.deadtom.me/deadtom/OwnchatBot.gitAt the command line, descend into the "OwnchatBot" folder.
To start the install, run:
bash init-ocb.shThe last lines of init-ocb's output tell you how to proceed to the management panel, where you can set up Owncast integraion, and other odds and ends.
More detailed instructions for running OwnchatBot are covered below.
Upgrading
Make a backup of your OwnchatBot/instance folder.
Descend into the OwnchatBot directory. Run:
git pull
If you installed by downloading from the repo, rather than doing a git clone, simply download the new version and extract the file over your existing installation.
Run the update script
This will make any necessary upgrades to your existing database and config files. Run:
bash update.sh
Running OwnchatBot
Port 8081 used here as an example. Change it to whatever port you'd like your bot to listen on. Run OwnchatBot:
env/bin/python -m gunicorn -b 0.0.0.0:8081 -w 1 'ownchatbot:create_app()'
The above command directs all output to the console, but I prefer to have it all dump into a log file. You can do this with a small modification to this command:
env/bin/python -m gunicorn --error-logfile ownchatbot.log -b 0.0.0.0:8081 -w 1 'ownchatbot:create_app()'
Final configuration
Once OwnchatBot is running, you can start setting up your rewards and other options via the Management Panel. When you finish running init-ocb.sh, it gives you a URL for your management panel. It will look something like this, with a proper, pregenerated auth code attached to it.
http://localhost:8081/mgmt?auth=yourMGMT_AUTHcode
Once you're in the OwnchatBot management panel, bookmark it.
The first thing you'll want to visit is the settings page. Each option is explained in detail. Then you'll need to get it talking to your Owncast instance, and Kofi if you'll be using it, both covered below.
Owncast chat connection
OwnchatBot accesses Owncast chat room information via a webhook. You'll need to point Owncast at that webhook for things to function.
- Go to your Owncast Admin panel -> Integrations -> Webhooks
- Click on "Create Webhook"
- In the top field, enter OwnchatBot's address and port, with
/chatHookappended (Example: http://localhost:8081/chatHook), which you'll set up below in the "Running OwnchatBot" section. - Click the "Select All" button.
- Click "OK"
Owncast viewer panel button
You need to create a button on your Owncast page, so your viewers can access the Rewards Panel to view their points, the rewards queue, and other helpful information. This will only work with an SSL enabled server. If you're running Owncast behind a reverse proxy (which you really should be) then you need to set up another reverse proxy for OwnchatBot. Sorry, you're on your own for how to do that. It's way outside the scope of this document.
- Go to your Owncast Admin panel -> Integrations -> External Actions.
- Click on "Create New Action"
Set the second field to your external OwnchatBot server address, and the port you set up in the "Running OwnchatBot" section, with
/userpanelappended. Example:https://<your_external.ownchatbot.url>/userpanelSet the third field (action title) to "Stream Rewards". Example:
Action Title: Stream RewardsConfigure the remaining fields/options as desired.
Kofi Integration
Make sure you don't lose your viewers' benefits! It is extremely important that you back up your instance folder daily, if not hourly.
Integration is accomplished via a webhook triggered by Kofi every time a donation is made. Again, this webhook is your external OwnchatBot server address with /kofiHook appended.
Paste the webhook address into Kofi -> More -> API -> Webhooks -> Webhook URL.
https://<your_external.ownchatbot.url>/kofiHook
Click "Update", but stay on this page.
You need the verification token the Kofi to send when it triggers the webhook. Below "Webhook URL", click on "Advanced". A pre-generated token will already be there. Copy that token, and paste it into the OCB Management Panel -> Settings -> Kofi Integration -> Verification Token. Then click "Save Changes".
OwnchatBot associates viewer accounts with Kofi accounts using their email address. So in order for viewers to get Kofi benefits in-stream, they must enter their email address in OwnchatBot viewer panel -> OwnchatBot Info -> Kofi. It must be the same email address associated with their Kofi account.
If a viewer donates before entering their email address, OwnchatBot creates a temporary entry with their email and donation amount, and then applies it once the viewer enters their email address into the viewer panel. If there is any sort of mix-up here, the streamer can manually connect the viewer's email and account via the management panel by entering the email into the viewers account. OwnchatBot will do the merge automatically.
Email addresses are ONLY used for Kofi integration. They are not sent to any other individual or company, will not be used to create or send mailing lists of any kind, or for any other purposes. Ever.
Overlays
To display vote and goal progress on-screen, in your stream, you need to create two browser sources in your streaming software.
Votes: http://localhost:8081/votes
- Recommended width: 420
- Recommended height: 150
- In OBS, check "Refresh browser source when scene becomes active"
Goals http://localhost:8081/goals
- Recommended width: 610
- Recommended height: 210
- In OBS, check "Refresh browser source when scene becomes active"
License
OwnchatBot © 2025 by DeadTOm is licensed under Creative Commons Attribution-ShareAlike 4.0 International.
Attribution
The SmallRobo image was created by Mike Carey, mikecarey134@gmail.com. I've modified the image, but you can find the original image at Open Game Art. At the time of this writing, it is released under a Creative Commons CC-BY 3 license.
The basic layout of the user and management panels was copied from the tab bar tutorial on w3schools.com.
The food that keeps me alive during all-weekend coding sessions is provided by Wonder.

